Exploring Blazor 8 SSR Components and HTMX for Micro Frontends
Introduction
As part of my learning journey, I’ve been diving into new versions of Blazor (8 and 9), particularly the new Server-Side Rendering (SSR) capabilities. This exciting feature is a welcome addition to the .NET stack, enabling APIs to return fully rendered HTML for Blazor components via the RazorComponentResult class. It also makes it possible to build simpler Blazor applications without needing WebAssembly or SignalR. Beyond that, I’ve been exploring how Blazor SSR components can work with HTMX to add interactivity, creating a smooth single-page app feel for SSR components still without web assembly or SignalR.
This sparked an idea: testing whether this approach could enable the creation of Blazor components that can be consumed by other applications—essentially creating micro frontends that seamlessly integrate with another application without requiring it to have any knowledge of Blazor.
Disclaimer: I’m using the term "micro frontend" loosely here to refer to a piece of UI hosted by one application and rendered by another.
Example Use Case
To test this concept, I set out to create a micro frontend for an ASP.NET Razor Pages application. This micro frontend would display a list of project statuses provided by a Blazor application and allow users to toggle project status directly from the Razor Pages app, with minimal changes to the Razor pages application.
Implementation
To validate this idea, I built a proof of concept app. This required building two applications:
- Blazor 8 Web App: Hosts a minimal API for SSR components and serves the micro frontend’s web components.
- ASP.NET Razor Pages App: A basic Razor Pages application consuming the micro frontend.
Technologies
- Blazor: For building the “Project Status” micro frontend components.
- ASP.NET Core Minimal API: For serving SSR components.
- HTMX: To add interactivity to the SSR components.
- Web Components: For creating reusable custom elements that integrate seamlessly into the consuming app.
Building the Proof of concept app
Razor Pages App
To set up the Razor Pages application, I started by creating a new Razor Pages app using the basic template provided by my development environment (Rider in this case). After setting up the app, I opened the home page (typically Index.cshtml) and added a placeholder where the micro frontend would be displayed. This placeholder serves as the host for the custom web component created with the Blazor SSR component, allowing seamless integration of the micro frontend into the Razor Pages app.
<div class="text-center">
  <projects-summary-view></projects-summary-view>
</div>
I also needed to configure CORS policy in the Razor Pages app to allow resource sharing from the Blazor app. This step ensures that the Razor Pages app can securely load resources and interact with the Blazor-hosted components without encountering cross-origin issues.
Blazor App
To build the Blazor Web Application, I began by creating a new Blazor Web Application using the Web App template. This served as the foundation for the project. Next, I disabled interactive server rendering by commenting out the AddInteractiveServerRenderMode line in the Program.cs file, ensuring the application relied solely on server-side rendering.
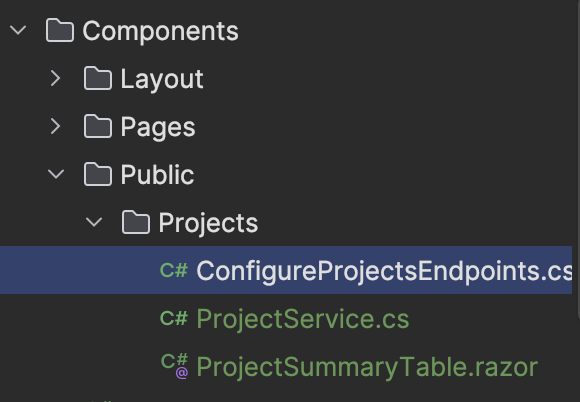
To keep the project organized, I created a Public folder under the Components directory to house the micro frontend components. I also cleaned up the project by removing the default template components, such as Counter and Weather, to reduce unnecessary clutter.
Finally, I integrated HTMX into the application to enable interactivity. This was achieved by including the following <script> tag in the app’s layout file:
<script src="https://unpkg.com/htmx.org@2.0.3/dist/htmx.js"></script>Now that the “plumbing” is configured across both applications, I could move on to implementing the logic for the Project Summary View component.
I started by implementing a ProjectsService to handle the core business logic for the Project Summary View component. This service includes the following functionality (see here for the implementation):
- Get a List of project summaries.
- Methods to update project statuses.
To keep things simple, I decided to use an in-memory list within the ProjectsService to manage the project state. This approach provides a simple way to simulate data storage while keeping the development process lightweight.
With the service set up, I moved on to implementing ConfigureProjectsEndpoints to define all the minimal API configurations for the Server-Side Rendered components. These endpoints handle key functionalities like retrieving all projects and updating project statuses when used with HTMX.
public static void ConfigureProjectsEndpoints(this WebApplication app)
    {
        app.MapGet("/api/projects", () => new RazorComponentResult(typeof(ProjectSummaryTable)));

        app.MapPost("/api/projects/mark-done/{id}", (int id, IProjectService projectService) =>
        {
            projectService.MarkDone(id);
            return new RazorComponentResult(typeof(ProjectSummaryTable));
        });

        app.MapPost("/api/projects/mark-active/{id}", (int id, IProjectService projectService) =>
        {
            projectService.MarkActive(id);
            return new RazorComponentResult(typeof(ProjectSummaryTable));
        });
    }
I continued by adding a Projects page to the Blazor application, creating a dedicated space to display project summaries. This page allowed me to test the functionality of the component directly within the Blazor app to ensure everything was working as expected.
Next, I rendered the ProjectSummaryTable component using HTMX within the Projects page. This setup enabled dynamic loading of project data, ensuring the interactivity required for the micro frontend while keeping the design clean and responsive.
<div hx-get="/api/projects" hx-trigger="load">
    Loading...
</div>
Finally, I added buttons for Mark as Done and Mark as Active to the Projects page. These buttons were configured to use the respective API endpoints through HTMX attributes, enabling seamless interaction with the server-side logic.
Each button dynamically updated the project’s status by triggering the corresponding endpoint and reflected the changes in the UI. I also ensured the logic in the ProjectsService correctly handled the status transitions, so the buttons displayed appropriately based on the current project state (e.g., showing Mark as Done for active projects and Mark as Active for completed ones).
This step tied together the interactive functionality, making the component fully responsive and ready for use both within the Blazor app and as a micro frontend in the Razor Pages application.
@if (project.ProjectStatus == "Active")
{
    <button
        type="button"
        class="btn-primary btn-sm"
        hx-post="/api/projects/mark-done/@project.ProjectId"
        hx-trigger="click"
        hx-swap="outerHTML"
        hx-target="#project-summary-table">
        Mark as Done
    </button>
}
else
{
    <button
        type="button"
        class="btn-primary btn-sm"
        hx-post="/api/projects/mark-active/@project.ProjectId"
        hx-trigger="click"
        hx-swap="outerHTML"
        hx-target="#project-summary-table">
        Mark as Active
    </button>
}
With the component ready to use, the next step was to create a JavaScript file to package it as a web component, enabling its integration into the ASP.NET Razor Pages app.
Wrapping the Component in a Web Component
To wrap the Blazor SSR component, I created a custom web component using JavaScript. This involved defining the component’s behavior and ensuring that it could seamlessly forward HTMX requests to the Blazor app. Here’s the implementation:
class ProjectsSummaryView extends HTMLElement {
constructor() {
super();
this.attachShadow({ mode: "open" });
// This is required to allow htmx to make requests to the server
htmx.config.selfRequestsOnly = false;
// This will configure htmx to make requests to the Blazor application instead of the razor pages app
this.shadowRoot.addEventListener("htmx:configRequest", function (evt) {
evt.detail.path = `http://localhost:5219${evt.detail.path}`;
});
// Enaure that we add the bootstrap css to the shadow dom
this.shadowRoot.innerHTML = `
<link href="http://localhost:5219/bootstrap/bootstrap.min.css" rel="stylesheet">
<div hx-get="/api/projects" hx-trigger="load">
Loading..
</div>
`;
}
connectedCallback() {
htmx.process(this.shadowRoot);
}
}
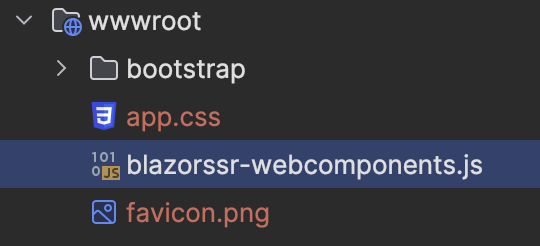
customElements.define("projects-summary-view", ProjectsSummaryView);To make the Projects Summary View reusable, I bundled it into a JavaScript file named blazorssr-webcomponents.js. I have also included the minified version of HTMX as part of this file.
This file encapsulates all the logic for rendering the Blazor SSR component as a custom web component. It includes the configuration to forward HTMX requests to the Blazor application and the definition of the web component, ensuring seamless integration into any consuming application. The file is hosted in the Blazor app, typically under the wwwroot folder, making it accessible via the app’s base URL.
To consume the component in the Razor Pages application, I just added a reference to the hosted JavaScript file. Since the placeholder for the component was already added to the Home page, simply loading the script allowed the component to be rendered.
<script src="http://localhost:5219/blazorssr-webcomponents.js"></script>Conclusion
This experiment demonstrates how Blazor 8 SSR components can be combined with HTMX and Web Components to build reusable micro frontends. While this POC is simplistic, it validates the concept of creating distributable UI components powered by Blazor.
In real-world scenarios, considerations like authentication, anti-forgery tokens, and enhanced navigation will need to be addressed and will require some additional complexity to be added like enhancing html requests with an auth cookie or a bearer token. However, this approach shows promise for creating flexible and integrative UI solutions using Blazor SSR components.
You can find all the code for the app here